You might thinking about setting up a hand planner. But do you really know How to Set Up a Hand Planer properly? I am taking to you a tour about setting up a hand planner in right way.
1. Place the hand planer on a flat surface.
2. Insert the blade into the body of the hand planer. Make sure that the blade is properly secured and that all safety features are engaged.
3. Adjust the depth of cut for the desired thickness of material to be removed.
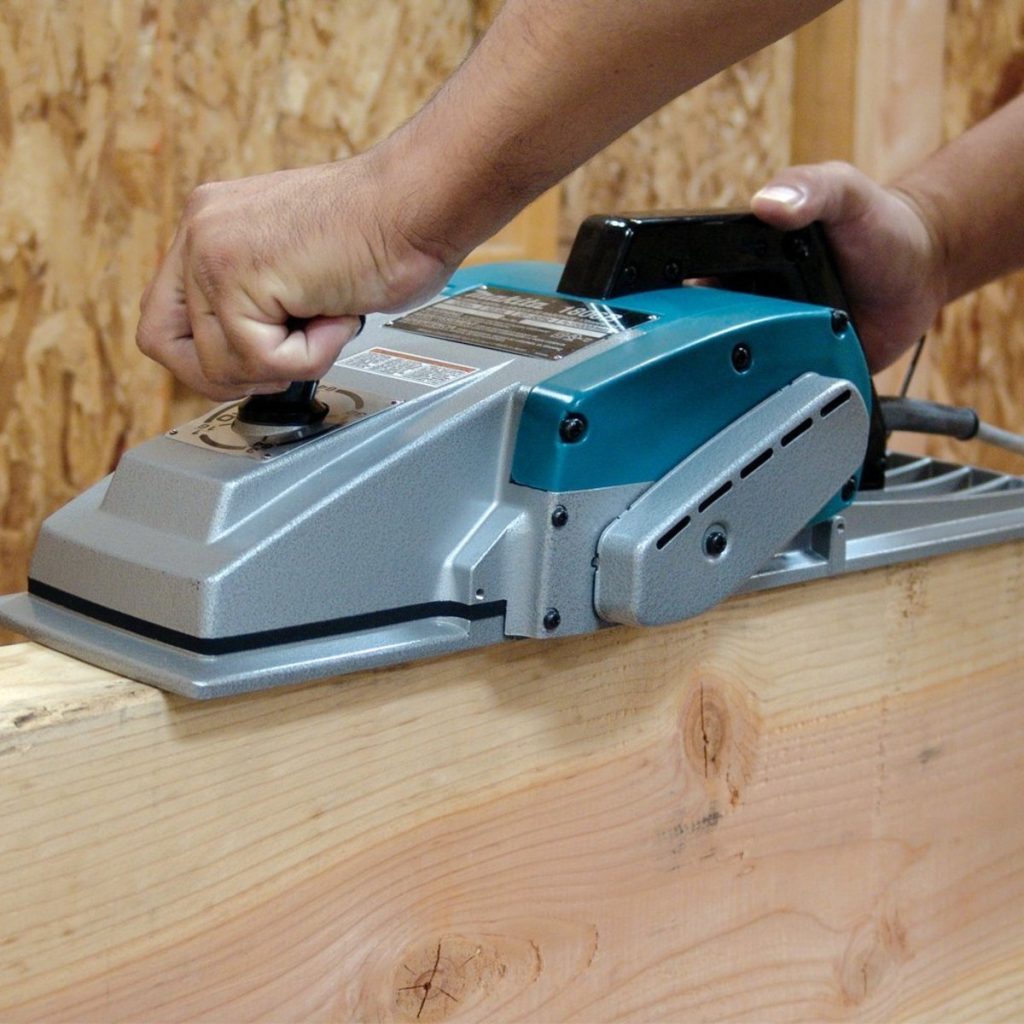
4. Hold the hand planer with both hands and apply pressure to engage the blade with the workpiece. Use smooth, even strokes while maintaining consistent pressure to avoid gouging or tearing out chunks of wood.
What will you do next? Follow read the following rules:
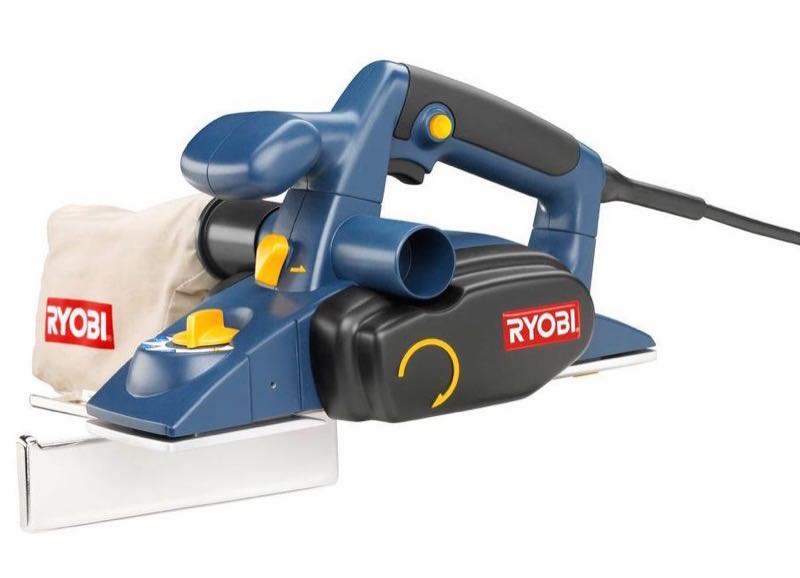
- Choose the right hand planer for your needs
- There are many different types and sizes of hand planers, so make sure to pick one that will work well for the material you want to plane and the size of project you’re working on
- Read the manual that comes with your hand planer before using it
- This will help you understand how to use the tool safely and properly
- Set up your workspace before starting to plane
- Make sure you have a flat, level surface to work on and that there is enough space around you to move freely with the hand planer
- Put on any safety gear required, such as ear protection or safety glasses
- Adjust the settings on the hand planer according to what you’re trying to achieve with it
- For example, if you’re looking for a smooth finish, set the blade depth accordingly
- Hold the hand planer firmly in both hands and start moving it along the surface of your material in even strokes
How to Set Up a Hand Plane | Rockler Skill Builders
How Do You Use a Hand Planer for Beginners?
A hand planer is a great tool for any beginner woodworker. Here are some tips on how to use a hand planer:
1. Before using the hand planer, make sure that the blade is sharp and in good condition. If the blade is dull, it will not cut as smoothly and can cause damage to the wood.
2. Choose the right size of hand planer for the job. If you are working with small pieces of wood, choose a smaller size hand planer. For larger pieces of wood, choose a larger size hand planer.
3. Set the depth of cut on the hand planer before beginning to plane the wood. The depth of cut determines how much material will be removed with each pass of the blade. Start with a shallow depth of cut and increase it as needed.
4. When using the hand planer, hold it firmly in both hands and keep your fingers away from the cutting edge of the blade. Apply even pressure as you move the tool along the surface of the wood.
How Do You Set the Depth on a Hand Planer?
It is important to set the depth on a hand planer so that you can ensure an accurate, level surface. To do this, first make sure that the planer is unplugged. Then, use an Allen wrench to loosen the screws on the depth adjustment knob.
Next, use your fingers to turn the knob until it reaches the desired depth setting. Finally, retighten the screws and plug in the planer.
How Do You Set Up And Adjust a Hand Plane?
There are a few different ways to set up and adjust a hand plane, depending on the type of plane and the desired results. For general purpose planes, such as a jack or smoothing plane, you will want to start with the blade set at a 45 degree angle. To do this, loosen the blade adjustment knob and rotate the blade until it is at the correct setting.
Then, tighten the knob until it is snug.
Next, you will need to set the depth of cut. This is done by loosening the depth adjustment lever and moving the blade forward or backward until it is at the desired setting.
Once again, be sure to tighten the lever before continuing.
Now that the basic settings are complete, you can begin honing the blade. To do this, use a sharpening stone to create a fine edge on both sides of the blade.
Be sure to maintain consistent pressure and angle while sharpening for best results.
After honing, test your work by running the plane over a piece of scrap wood. If everything looks good, you’re ready to start using your hand plane!
Which Hand Plane Goes First?
If you’re new to hand planes, the question of which one to use first can be a bit daunting. There are a lot of different types and sizes of hand planes, and it’s not always clear which one is best for a particular job. In general, though, there are a few guidelines that can help you choose the right plane for the job at hand.
One important factor to consider is the type of wood you’re working with. Softer woods like pine or cedar will require a different approach than harder woods like maple or oak. For softer woods, you’ll want to start with a lower-numbered plane , which will remove less material and be less likely to tear out the grain.
Harder woods can handle more aggressive cuts from higher-numbered planes . Another consideration is the size of the board you’re working on. A larger board will need a longer plane to cover its surface area, while a smaller board can be tackled with a shorter plane.
The width of the board is also important – wider boards will need wider planes to avoid leaving behind unsightly streaks. Once you’ve considered these factors, it’s time to choose your plane based on its purpose. For instance, if you’re looking to smooth out rough lumber before jointing it, then you’ll want to use a jointer plane.
If you’re looking to create fine finishes or detailed work, then you’ll want to use one of the smaller smoothers or block planes. And if you’re simply looking for an all-purpose tool that can do everything from heavy stock removal down to delicate finish work, then go for something in between like a jack plane or fore plane. No matter which hand plane you choose first, remember that practice makes perfect.
The more time you spend using them, the better feel you’ll get for how they work and what kinds of results they produce – so get out there and start planing!

Credit: www.youtube.com
How to Adjust a Plane
Have you ever wondered how to adjust a plane? It’s actually not that difficult, and there are only a few steps involved. Here’s what you need to do:
1. Loosen the adjustment knob on the side of the plane.
2. Move the blade forward or backward to change the depth of cut.
3. Retighten the adjustment knob when you’re finished.
That’s all there is to it! Now you know how to adjust a plane for different depths of cuts.
How to Install Blade in Hand Plane
Most woodworkers will eventually want to add a blade to their hand plane. Here is how to do it:
1. Start by removing the knob and washer from the top of the hand plane. Set them aside.
2. Next, remove the cap screws that hold the blade in place. There are generally two of these.
3. Carefully remove the blade from the hand plane body. Be careful not to drop it or damage the cutting edge.
4. Take your new blade and insert it into the body of the hand plane, making sure that the beveled edge is facing down towards the sole plate.
5. Replace the cap screws and tighten them securely but not too tightly – you don’t want to strip out the threads!
6 Put the knob and washer back on top of the hand plane body and you’re all set!
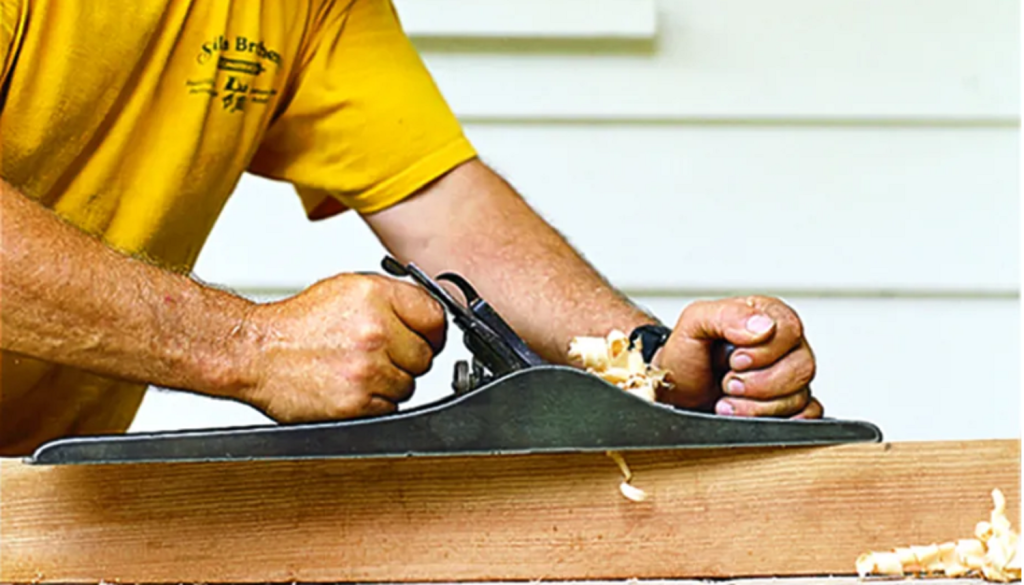
Hand Plane Basics
If you’re new to woodworking, or even if you’ve been doing it for a while, you might not be familiar with the hand plane. A hand plane is a tool that’s used to smooth and shape wood. It’s basically a big block of metal with a blade sticking out of it.
You might be wondering why you would need a hand plane when you have other power tools that can do the same thing. The answer is that a hand plane can do things that other tools can’t. For example, it’s much easier to get into tight spaces with a hand plane than it is with a power sander.
And because you’re using your own muscle power to move the tool, you have more control over it. That means you can produce smoother, more accurate results.
If you’re interested in giving hand planes a try, here are some basics that you should know:
There are two main types of hand planes: bench planes and block planes . Bench planes are larger and designed for use on flat surfaces , while block planes are smaller and ideal for working in tighter spaces .
There are also several different sizes of hand planes , from small ones that fit in the palm of your hand to large ones that require two hands to operate .
Choose the size based on the type of work you’ll be doing .
The blade is the most important part of the plane . It’s what does the actual cutting , so make sure it’s sharpened before each use .
You can buy blades already sharpened , or sharpen them yourself using a honing stone or diamond sharpener .
To use a hand plane , start by adjusting the blade to protrude slightly from the body of the plane .
How to Set Up a Wooden Hand Plane
Setting up a wooden hand plane is easy and only requires a few steps. First, identify the parts of the plane. The body of the plane is where you’ll grip it with your hand, and the blade extends from the front.
The blade is held in place by a wedge that fits into a slot at the back of the body.
Next, find a flat surface to work on and clamp your workpiece down. This will keep it steady while you’re working.
Then, position the plane so that the blade is flush with the surface of your workpiece. You may need to adjust the depth of cut by moving the blade forwards or backwards in its slot. To do this, loosen the wedge at the back of the body, then move the blade to where you want it and retighten the wedge.
Now you’re ready to start planing! Hold onto both ends of the body and push down on one end to engage the blade with your workpiece.
How to Adjust a Stanley Hand Plane
Assuming you would like a blog post discussing how to adjust a Stanley hand plane: One of the great things about hand planes is that they are adjustable. This means that you can fine-tune them to work just the way you want them too.
And, if you take good care of your planes, they will last for generations. Here’s a quick guide on how to adjust a Stanley hand plane.
First, check the blade. The blade should be sharp and have no nicks or burrs. If it does, sharpen it or replace it with a new one.
Second, check the mouth opening. The wider the mouth opening, the coarser the cut will be; the narrower the mouth opening, the finer the cut will be. You can adjust the mouth opening by loosening or tightening the screws on either side of the blade.
Next, check the depth adjustment knob at the front of the plane body.
This adjusts how deep into whatever you’re planing (wood, metal, etc.)the blade cuts with each pass. To make shallower cuts, turn clockwise; to make deeper cuts turn counterclockwise . Finally ,check your lateral adjustment lever .
This controls whether your blade cuts straight across (for cross-grain planing) or diagonally (for diagonal or end grain planing).
Conclusion
There are many ways to set up a hand planer. The most important thing is to make sure that the blades are properly installed and aligned. Once the blades are installed, you need to set the depth of cut.
The next step is to calibrate the machine so that it cuts evenly across the board. Finally, you need to adjust the fence so that it is parallel to the blade.