
Table saws are one of the most versatile tools in a woodworker’s arsenal. They can be used for a variety of different projects, from simple to complex. One of the tasks a table saw can be used for is cutting angles. In this article, we’ll discuss the basics of cutting angles on a table saw, the tools you’ll need, and the safety precautions to take.
Introduction to Table Saw Angles
Table saw angles are an essential part of woodworking projects. Angles allow you to make intricate cuts that would otherwise be impossible with a standard saw. To get the most out of your table saw, it’s important to understand how to properly set up and use it to cut angles.
The most important thing to understand before you start cutting angles with a table saw is that the angle you set is not necessarily the same angle that will be produced. This is because the saw blade will produce a slightly different angle than the one you set. For this reason, it’s important to always test your cuts with a protractor before committing to a certain angle.
Benefits of Cutting Angles with a Table Saw
Cutting angles with a table saw can provide numerous benefits for your projects. One of the main benefits is that it can help you achieve precise angles that would otherwise be impossible to achieve with a standard saw. This is especially useful when cutting intricate shapes or patterns.
Another benefit of cutting angles with a table saw is that it can save you time and money. By cutting angles accurately and quickly with a table saw, you can complete projects faster and with fewer mistakes. This can result in a higher quality project that is completed in less time and with fewer costs.
Table Saw Safety Precautions
Before attempting to cut angles on a table saw, it’s important to take a few safety precautions. The most important precaution is to always wear safety glasses and a dust mask when operating a table saw. This will protect your eyes and lungs from any dust or debris that may be kicked up from the saw.
It’s also important to make sure that the saw blade is sharp and in good condition before using it. A dull blade can increase the risk of kickback, which can be dangerous. It’s also important to make sure that the table saw is properly secured to a stable surface before beginning any cuts.
Tools Needed for Cutting Angles
In order to accurately cut angles on a table saw, there are a few essential tools you’ll need. The first is a miter gauge. This is a tool used to set the angle of the saw blade. It is important to make sure that the miter gauge is properly set before making any cuts.
You’ll also need a protractor to measure and set the angles accurately. Additionally, you may want to invest in a crosscut sled, which can help you make more precise cuts.
Understanding Angles
Before you can begin cutting angles with a table saw, it’s important to have a basic understanding of angles. Angles are measured in degrees, and the most common angles used in woodworking projects are 45-degree angles and 90-degree angles.
It’s also important to understand the difference between inside and outside angles. An inside angle is measured from the inside corner of a board, while an outside angle is measured from the outside corner. When setting up your table saw, you’ll need to make sure that you’re measuring and setting the correct angle.
Setting Up Your Table Saw for Cutting Angles
Once you’ve gathered the necessary tools and have a basic understanding of angles, you can begin setting up your table saw for cutting angles. The first step is to make sure that the miter gauge is properly set. You can do this by adjusting the angle of the miter gauge to the angle you want to cut.
It’s also important to make sure that the saw blade is aligned with the miter gauge. This can be done by adjusting the position of the blade in relation to the miter gauge. Once the blade is properly aligned, you can secure the miter gauge in place with a clamp.
Step-By-Step Guide to Cutting Angles on a Table Saw
Now that you’ve set up your table saw for cutting angles, you’re ready to begin cutting. The following is a step-by-step guide to cutting angles on a table saw.
- Set the angle of your miter gauge to the angle you want to cut.
- Align the saw blade with the miter gauge and secure it in place with a clamp.
- Set the depth of the blade to the thickness of the material you’re cutting.
- Turn on the saw and slowly push the material through the blade.
- Once the cut is complete, turn off the saw and unclamp the miter gauge.
- Measure the angle with a protractor to ensure accuracy.
Tips and Tricks for Cutting Angles on a Table Saw
Cutting angles with a table saw can be a tricky task, but there are a few tips and tricks that can help make the process easier. One important tip is to always double-check the angle of the miter gauge before making a cut. This will help ensure that you’re cutting at the correct angle.
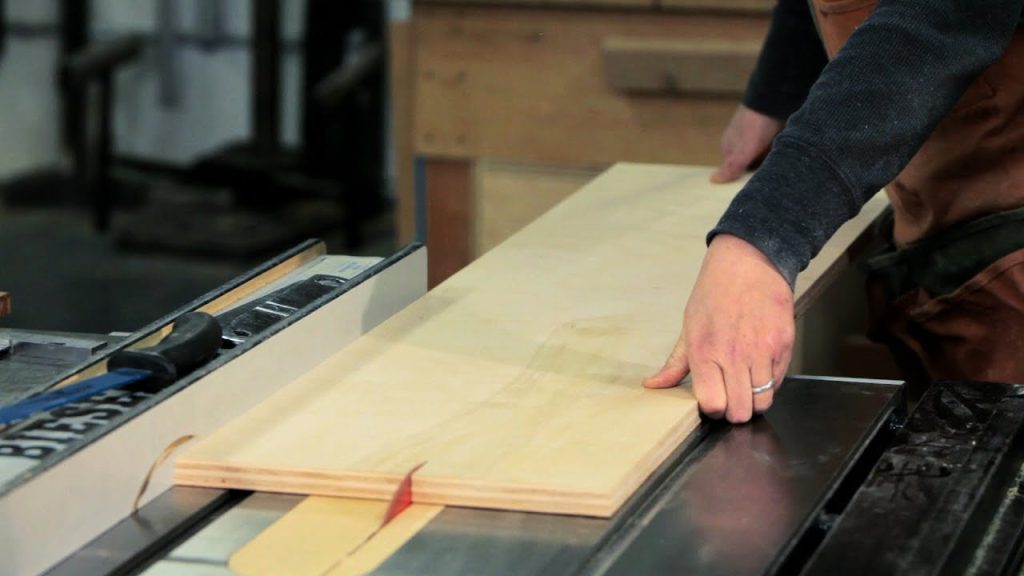
It’s also important to always use a push stick when making cuts. This will help keep your hands away from the blade and help you maintain control over the material. Finally, it’s important to use a sharp blade when cutting angles. A dull blade can result in inaccurate cuts and can increase the risk of kickback.
Troubleshooting Common Table Saw Problems
When cutting angles on a table saw, it’s possible that you may encounter some common problems. One of the most common problems is that the cut is not straight or is not at the correct angle. If this happens, it’s important to check the alignment of the blade and the miter gauge. It may also be necessary to adjust the angle of the miter gauge.
Another common problem is that the saw blade is not cutting through the material. This can be caused by a dull blade or a blade that is not properly aligned with the miter gauge. If this happens, it’s important to replace or sharpen the blade and check the alignment of the blade and miter gauge.
Conclusion
Cutting angles on a table saw can be a challenging task, but with the right tools and knowledge, it can be done accurately and safely. By following the steps outlined in this article, you’ll be on your way to becoming an expert at cutting angles on a table saw. Just remember to always take safety precautions and double-check the angle of the miter gauge before making any cuts.