
To change the blade on a table saw, first disconnect the power and remove the throat plate. Next, use a wrench to loosen the arbor nut and washer, then remove the old blade. To install the new blade, reverse these steps.
Be sure to use a properly sized wrench when loosening or tightening the arbor nut.
- Unplug the table saw from its power source
- Raise the blade to its highest position
- Use a wrench to loosen the arbor nut, which secures the blade to the spindle
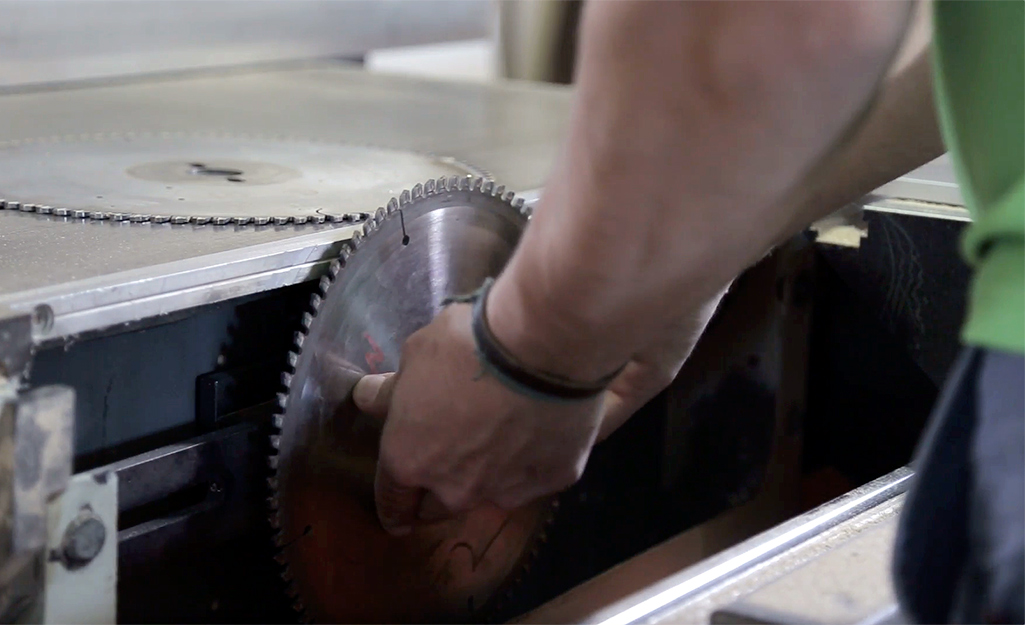
- Remove the old blade and discard it safely
- Install a new blade by hand, being careful not to touch the teeth with your fingers
- 5b Alternatively, use a block of wood to protect your fingers as you install the new blade onto the arbor shaft
- 6a If you installed the blade by hand, use the wrench to tighten down the arbor nut until it is snug
- 6b If you used a block of wood, hold down on both ends ofthe block while you finish tightening downthe arbor nut withthe wrench so thattheblock doesn’t slip out and cause injury
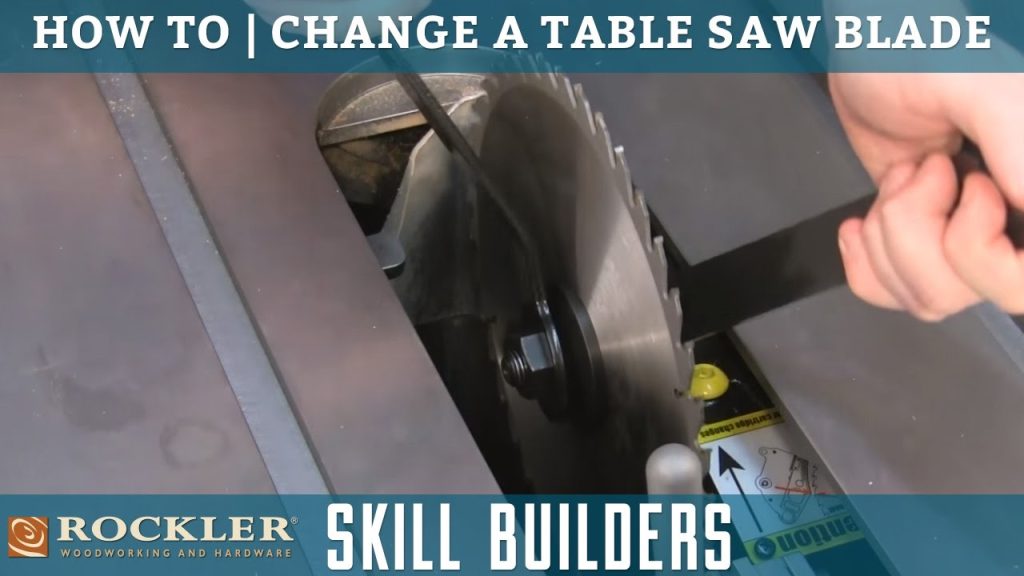
Table Saw Tip #6: How To Change A Table Saw Blade
Which Way Do You Turn to Loosen a Table Saw Blade?
Most table saws have a blade guard that covers the blade when it’s not in use. To access the blade, you’ll need to remove the guard. Once the guard is removed, you can access the blade by loosening the arbor nut.
The arbor nut is located at the top of the blade and is used to hold the blade in place. To loosen the arbor nut, turn it counterclockwise with a wrench.
What are 4 Steps to Changing a Saw Blade?
If you’re working with a hand saw, the process for changing the blade is relatively simple. For power saws, there’s a bit more to it. Here are four steps to changing a saw blade:
1. Unplug the power saw. This is an important safety precaution—you don’t want the saw to accidentally turn on while you’re changing the blade.
2. Remove the old blade. Depending on the model of power saw, this will involve removing either one or two screws that hold the blade in place. With a hand saw, you’ll simply need to remove the tensioning nut that holds the blade tight.
3. Install the new blade. Make sure that the teeth of the new blade are facing in the correct direction (toward the handle of the saw), then securely tighten all screws or nuts in place. Again, refer to your power saw’s manual if you’re unsure about how to do this correctly.
4. Test-run and adjust as necessary. Once you’ve got everything tightened down, plug in your power saw and give it a test run before starting any actual cutting work.
How Do You Change a Table Saw Blade Without an Arbor Wrench?
If you don’t have an arbor wrench, you can use a hex key to loosen the blade. First, unplug the saw and make sure the blade is not spinning. Then, use a hex key to loosen the bolt that holds the blade in place.
Once the bolt is loose, you can remove the old blade and replace it with a new one. Be sure to tighten the bolt back down before using the saw again.
How Do You Change a Rigid Table Saw Blade?
If you’re looking to change a rigid table saw blade, the process is actually quite simple. With just a few basic tools, you can have your new blade installed and ready to go in no time. Here’s what you’ll need:
– A wrench or socket set
– A screwdriver
– A hammer
– Your new table saw blade
First, unplug your table saw from any power source. Next, use the wrench or socket set to loosen the bolts that hold the old blade in place.
Be careful not to drop the bolts into the saw – they can be difficult to retrieve. Once the bolts are loose, remove the old blade carefully and discard it (or save it for another project).
Next, take your new table saw blade and position it so that the teeth are facing down.
Line up the bolt holes with those on thesaw’s arbor, then insert and tighten the bolts by hand as much as possible. Finally, use the hammer to give each bolt a few taps until they’re snugged down tight – but be careful not to overdo it or strip the threads.
And that’s it!
You should now have a brand new table saw blade installed and ready for action.
Credit: www.homedepot.com
How to Change a Table Saw Blade Dewalt
If you’re a woodworker, then you know that a table saw is an essential tool for making precision cuts. And like any tool, it needs to be properly maintained in order to work its best. That includes regularly changing the blade.
Most table saws use 10-inch blades, so that’s what we’ll focus on here. But the process is similar no matter what size blade you’re using.
First, unplug the saw and make sure the blade is completely stopped before proceeding.
Then, raise the blade all the way up so that it’s above the table surface. Next, loosen the arbor nut with a wrench or socket (the size will depend on your particular saw). Once the nut is loose, you can remove the old blade by simply pulling it off of the arbor shaft.
Now it’s time to install the new blade.
Table Saw Blade Lock
If you have a table saw, then you know that one of the most important parts of the saw is the blade. The blade is what does all the cutting, so it’s important to keep it in good shape and make sure it’s always sharp. One way to do this is to use a blade lock.
A blade lock is a device that helps to keep your table saw blade in place while you’re working. It’s basically a clamp that goes around the blade and holds it tight so it doesn’t move. This can be very helpful if you’re doing precision work or if you’re trying to avoid kickback from the saw.
There are different types of blade locks available, but they all work in essentially the same way. You’ll need to choose one that’s compatible with your particular table saw model. Once you have one, simply put it in place around the blade before you start cutting.
Make sure that it’s tight enough so that the blade won’t move, but not so tight that it’s difficult to remove when you’re finished using the saw.
Using a Blade Lock can help improve your accuracy and safety while using a table saw.
Table Saw Blade Removal Tool
If you’re a homeowner or a DIYer, chances are you’ve had to deal with a stuck table saw blade at some point. It’s one of the most frustrating things that can happen when you’re trying to complete a project. Fortunately, there are some easy ways to remove a stuck blade without damaging your saw.
One of the easiest ways to remove a stuck blade is to use a Blade Removal Tool. This tool is specifically designed to remove blades from table saws. It has a long, slender shaft that fits between the teeth of the blade and the arbor flange.
The handle is then used to twist the shaft and break the blade free from the arbor.
Another method that can be used to remove a stuck blade is by using an impact driver. This tool uses high-speed impacts to loosen stubborn bolts and screws.
Simply place the tip of the impact driver on the center bolt of the arbor and give it several quick bursts of energy. The shock will loosen the bond between the blade and arbor, making it easier to remove by hand.
If neither of these methods work, your last resort is to cut through the stuck blade with another piece of metal (such as an old hacksaw blade).
Be very careful when doing this so you don’t damage your saw’s tabletop or motor housing. Once you’ve cut through the blade, simply unscrew it from the arbor and discard it safely. Then, install a newblade and get back to work!
How to Change Table Saw Blade Craftsman
If you have a Craftsman table saw, you may need to change the blade at some point. Here’s how to do it:
First, unplug the saw and make sure it’s turned off.
Then, raise the blade to its highest position and loosen the arbor nut with a wrench. Next, remove the old blade and carefully install the new one. Be sure to line up the teeth so they’re pointing in the right direction.
Finally, tighten the arbor nut and lower the blade back down.
That’s all there is to it! Changing a table saw blade is quick and easy, so don’t be afraid to do it yourself.
Table Saw Blade Nut Direction
If you’re like most people, you probably don’t think too much about which way your table saw blade nut is facing. But did you know that there is a correct way to orient the nut? It might not seem like it would make a difference, but if the nut is facing the wrong way, it can actually cause problems with your saw.
The blade nut is responsible for holding the blade in place and keeping it from moving around while you’re using the saw. If the nut is loose, the blade can become misaligned and cause kickback or other safety issues. The best way to avoid this problem is to make sure that the blade nut is always facing towards the front of the saw.
Some people might orient their blade nuts differently, but doing so can increase the risk of injury. So, next time you’re changing your table saw blade, take a moment to double check that the nut is facing in the correct direction. It could save you from a dangerous situation down the road.
Are Table Saw Blades Reverse Threaded
If you’re a woodworker, you know that one of the most important tools in your workshop is the table saw. And one of the most important parts of the table saw is the blade. You need to make sure that your blade is sharp and in good condition, or else your cuts will be less than perfect.
But did you know that there’s more than one type of table saw blade? In fact, there are two different types of blades – standard and reverse thread.
So what’s the difference between these two types of blades?
Standard table saw blades are threaded in the same direction as the motor rotation. This means that when you’re cutting with a standard blade, the teeth on the blade are moving towards you. Reverse thread blades are just the opposite – they’re threaded in the opposite direction of motor rotation.
This means that when you’re cutting with a reverse thread blade, the teeth on the blade are moving away from you.
So which type of blade should you use? It really depends on what kind of material you’re cutting and how thick it is.
For example, if you’re cutting something soft like pine or cedar, a standard blade will work just fine. But if you’re cutting something hard like oak or maple, a reverse threadblade will give you cleaner cuts.
No matter which type of table saw blade you choose, always make sure it’s sharp and in good condition before using it.
With proper care, your table saw will provide years of dependable service!
How to Change the Blade on a Circular Saw
If you’re like most people, you probably don’t think about changing the blade on your circular saw very often. But if you use your saw regularly, it’s important to keep the blade sharp and in good condition. Otherwise, you could end up damaging your saw or injuring yourself.
Here’s a quick guide on how to change the blade on a circular saw.
1. Unplug the saw from its power source and make sure that it’s turned off.
2. Use a wrench to loosen the bolt that holds the blade in place.
You may need to use an Allen wrench or another type of wrench, depending on your model of saw.
3. Carefully remove the old blade from the saw. Be careful not to touch the teeth of the blade, as they can be verysharp .
4. Choose a new blade that is compatible with your model of saw and install it according to manufacturer’s instructions. Usually, this just means aligning it with the bolt holes and tightening down the bolt until it’s snug . However, some models may require you to use a washer or other type of fastener .
Follow all instructions carefully so that you don’t damage your new blade or injure yourself . Sometimes ,it can be helpful t o put a drop o f lubricant o n th e threads o f th e bolt before screwing i t back i n place . This will help keep i t from getting s tuck
Craftsman Table Saw Blade Removal Tool
If you’re a woodworker, then you know that one of the most important pieces of equipment in your workshop is the table saw. And one of the most important parts of the table saw is the blade. Over time, the blades on your table saw can become dull or damaged, and when that happens, you need to remove them so you can either sharpen or replace them.
But removing a table saw blade can be tricky, especially if you don’t have the right tools. That’s why we’ve put together this blog post on how to remove a Craftsman table saw blade using the removal tool.
First, start by unplugging your table saw from any power source.
Then, raise the blade guard and release the tension on the blade by turning the adjustment knob counterclockwise.
Conclusion
If you’re new to woodworking, changing the blade on your table saw can seem like a daunting task. But don’t worry – it’s actually quite simple! Just follow these easy steps and you’ll have a new blade installed in no time.
First, unplug your table saw from the power source. Then, raise the blade to its highest position and secure it in place with the blade guard or a piece of scrap wood. Next, remove the throat plate by loosening the screws that hold it in place.
With the throat plate removed, you should now be able to see the arbor nut – this is what holds the blade in place. Using a wrench, loosen and remove the arbor nut (be sure to keep track of which way it unscrews so you can put it back on correctly!).
Now simply slip off the old blade and replace it with the new one.
Be sure thatthe teeth of the blade are pointing inwards before you put the arbor nut back on and tighten it down. Finally, re-installthe throat plate and lowerthe blade back down to its original position. That’s all there is to it!
Which Way Do You Turn to Loosen a Table Saw Blade?
Most table saws have a blade guard that covers the blade when it’s not in use. To access the blade, you’ll need to remove the guard. Once the guard is removed, you can access the blade by loosening the arbor nut. The arbor nut is located at the top of the blade and is used to hold the blade in place. To loosen the arbor nut, turn it counterclockwise with a wrench.
What are 4 Steps to Changing a Saw Blade?
If you’re working with a hand saw, the process for changing the blade is relatively simple. For power saws, there’s a bit more to it. Here are four steps to changing a saw blade:
1. Unplug the power saw. This is an important safety precaution—you don’t want the saw to accidentally turn on while you’re changing the blade.
2. Remove the old blade. Depending on the model of power saw, this will involve removing either one or two screws that hold the blade in place. With a hand saw, you’ll simply need to remove the tensioning nut that holds the blade tight.
3. Install the new blade. Make sure that the teeth of the new blade are facing in the correct direction (toward the handle of the saw), then securely tighten all screws or nuts in place. Again, refer to your power saw’s manual if you’re unsure about how to do this correctly.
4. Test-run and adjust as necessary. Once you’ve got everything tightened down, plug in your power saw and give it a test run before starting any actual cutting work. If necessary, make adjustments to ensure that the new blade is tracking straight and cuts cleanly through whatever material you’re working with
How Do You Change a Table Saw Blade Without an Arbor Wrench?
If you don’t have an arbor wrench, you can use a hex key to loosen the blade. First, unplug the saw and make sure the blade is not spinning. Then, use a hex key to loosen the bolt that holds the blade in place. Once the bolt is loose, you can remove the old blade and replace it with a new one. Be sure to tighten the bolt back down before using the saw again.
How Do You Change a Rigid Table Saw Blade?
If you’re looking to change a rigid table saw blade, the process is actually quite simple. With just a few basic tools, you can have your new blade installed and ready to go in no time. Here’s what you’ll need:
– A wrench or socket set
– A screwdriver
– A hammer
– Your new table saw blade
First, unplug your table saw from any power source. Next, use the wrench or socket set to loosen the bolts that hold the old blade in place. Be careful not to drop the bolts into the saw – they can be difficult to retrieve. Once the bolts are loose, remove the old blade carefully and discard it (or save it for another project).
Next, take your new table saw blade and position it so that the teeth are facing down. Line up the bolt holes with those on thesaw’s arbor, then insert and tighten the bolts by hand as much as possible. Finally, use the hammer to give each bolt a few taps until they’re snugged down tight – but be careful not to overdo it or strip the threads.
And that’s it! You should now have a brand new table saw blade installed and ready for action.