Plexiglass, also known as acrylic glass, is a versatile and durable material used in a wide range of projects, from DIY crafts to professional construction. However, cutting plexiglass can be tricky, especially if you’re using a circular saw. Unlike wood, plexiglass is prone to cracking, chipping, and melting if not cut properly. But with the right tools, techniques, and precautions, you can achieve clean, precise cuts every time. In this guide, we’ll walk you through everything you need to know about cutting plexiglass with a circular saw.
Why Use a Circular Saw for Cutting Plexiglass?
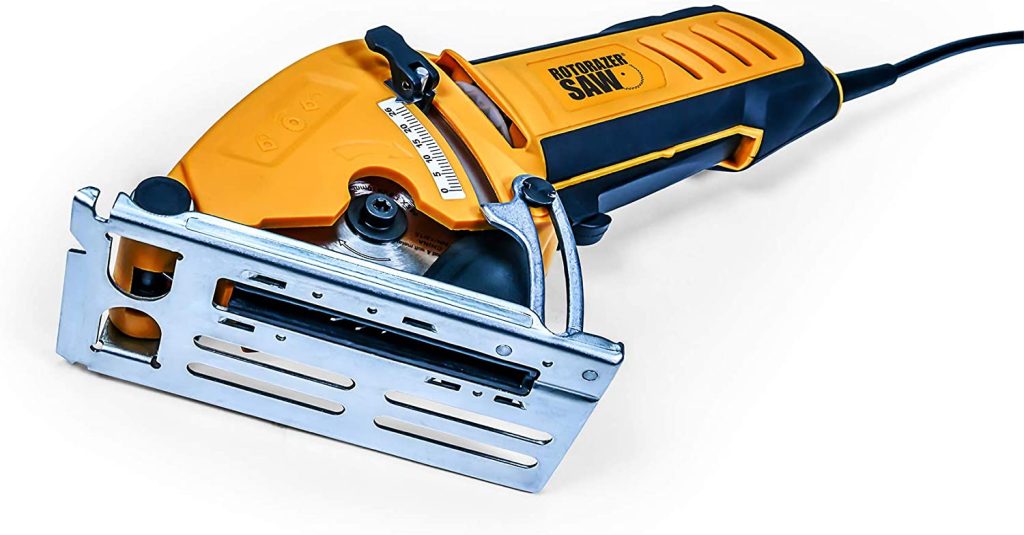
A circular saw is a powerful tool that can make quick work of cutting plexiglass, especially for larger sheets or thicker pieces. While other tools like a jigsaw or scoring knife can be used for smaller projects, a circular saw is ideal for straight, long cuts. However, it requires careful handling to avoid damaging the material.
Tools and Materials You’ll Need
Before you start, gather the following tools and materials:
Circular Saw: A standard circular saw with a fine-toothed blade.
Blade for Cutting Plexiglass: Use a carbide-tipped blade with at least 80 teeth for smooth cuts.
Clamps: To secure the plexiglass in place.
Straightedge or Guide: For making straight cuts.
Masking Tape: To protect the plexiglass surface and reduce chipping.
Safety Gear: Safety goggles, ear protection, and a dust mask.
Workbench or Sawhorses: To support the plexiglass while cutting.
Sandpaper or File: For smoothing the edges after cutting.
Step-by-Step Guide to Cutting Plexiglass with a Circular Saw
Step 1: Choose the Right Blade
The blade you use is critical for cutting plexiglass. A standard wood-cutting blade will cause chipping and melting. Instead, use a fine-toothed carbide blade with at least 80 teeth. These blades are designed to make smooth, clean cuts in plastic materials.
Step 2: Prepare the Plexiglass
Measure and Mark: Use a measuring tape and a marker to mark the cut line on the plexiglass. Double-check your measurements to ensure accuracy.
Apply Masking Tape: Cover the cut line with masking tape to protect the surface from scratches and reduce chipping. Mark the cut line on top of the tape.
Secure the Plexiglass: Place the plexiglass on a stable work surface, such as a workbench or sawhorses. Use clamps to secure it firmly in place. Make sure the area you’re cutting overhangs the edge of the work surface to avoid cutting into it.
Step 3: Set Up the Circular Saw
Adjust the Blade Depth: Set the blade depth so that it extends about 1/4 inch below the plexiglass. This minimizes the risk of chipping and melting.
Attach a Guide: Use a straightedge or circular saw guide to ensure a straight cut. Clamp the guide to the plexiglass, aligning it with the cut line.
Step 4: Safety Precautions
Wear safety goggles to protect your eyes from flying debris.
Use a dust mask to avoid inhaling acrylic particles.
Wear ear protection to reduce noise from the saw.
Keep your hands away from the blade and use a push stick if necessary.
Step 5: Make the Cut
Start the Saw: Turn on the circular saw and let it reach full speed before making contact with the plexiglass.
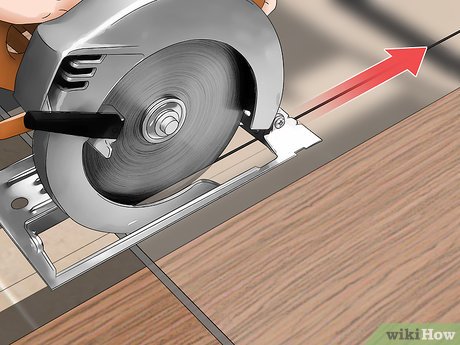
Begin Cutting: Align the blade with the cut line and gently push the saw forward. Let the blade do the work—don’t force it.
Maintain Steady Speed: Move the saw at a steady, even pace. Cutting too fast can cause melting, while cutting too slow can lead to chipping.
Follow the Guide: Keep the saw’s base plate pressed firmly against the guide to ensure a straight cut.
Step 6: Smooth the Edges
After cutting, the edges of the plexiglass may be rough or sharp. Use sandpaper (220-grit or higher) or a file to smooth the edges. Start with coarse grit and gradually move to finer grit for a polished finish.
Tips for Cutting Plexiglass Successfully
Use a Zero-Clearance Insert: If your circular saw has a zero-clearance insert, use it to reduce chipping.
Keep the Blade Cool: Overheating can cause the plexiglass to melt. Consider using a blade lubricant or spraying water on the cut line to keep the blade cool.
Cut in a Well-Ventilated Area: Cutting plexiglass can produce fumes, so work in a well-ventilated space or use a fan to disperse the fumes.
Practice on Scrap Material: If you’re new to cutting plexiglass, practice on a scrap piece to get a feel for the tool and material.
Common Mistakes to Avoid
Using the Wrong Blade: A standard wood-cutting blade will damage the plexiglass. Always use a fine-toothed carbide blade.
Cutting Too Fast or Too Slow: Maintain a steady speed to avoid melting or chipping.
Skipping the Guide: Freehand cuts are rarely straight. Always use a guide for precision.
Ignoring Safety Gear: Plexiglass can produce sharp debris and fumes, so always wear protective gear.
Alternative Methods for Cutting Plexiglass
If you don’t have a circular saw or prefer a different method, here are a few alternatives:
Jigsaw: Use a fine-toothed blade and cut slowly to avoid cracking.
Scoring Knife: For thin sheets, score the plexiglass along the cut line and snap it along the score.
Table Saw: Use a fine-toothed blade and a push stick for straight cuts.
Conclusion
Cutting plexiglass with a circular saw is a straightforward process if you have the right tools and techniques. By using a fine-toothed blade, securing the material, and following a steady cutting pace, you can achieve clean, precise cuts without damaging the plexiglass. Whether you’re working on a DIY project or a professional job, this guide will help you master the art of cutting plexiglass with a circular saw.
Call to Action
Ready to tackle your next plexiglass project? Grab your circular saw, follow these steps, and start cutting with confidence! If you found this guide helpful, share it with your friends or leave a comment below with your tips and experiences. Happy cutting!