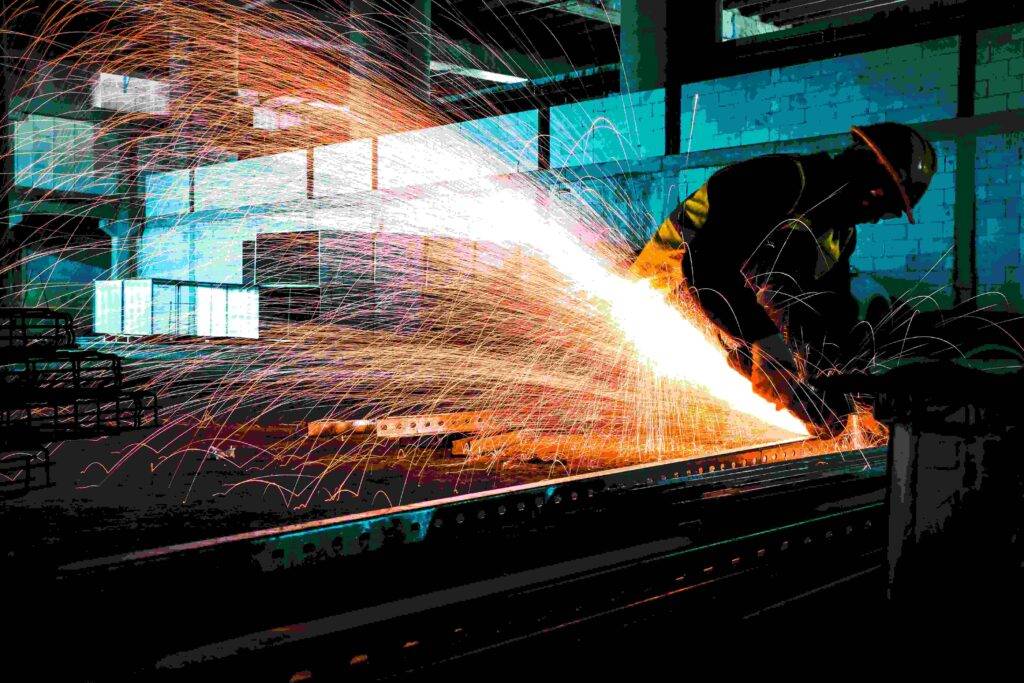

Look, we’ve all been there. You bought that heavy-duty chain lock for your bike, gate, or trailer years ago. The key is long gone, the combination is a fuzzy memory, or maybe you’re the new owner of a property with old, rusted security chain wrapped around something you need to free. Bolt cutters laugh at it. A hacksaw would take all day and leave you with blisters. So, out comes the angle grinder—the workhorse of the garage that can chew through hardened steel if you know what you’re doing.
This isn’t some TikTok hack video. This is a practical, battle-tested guide from real-world experience (and plenty of sparks flying). We’ll cover the physics, the right tools, safety that actually matters, and techniques that work—especially the “two-cut” method for thick links. The goal? Get the job done efficiently while keeping all your fingers and eyes intact.
Why an Angle Grinder Works for Hardened Chain (and Why It’s Tricky)
Hardened steel chain—think Grade 70 or security chains with high-tensile links—is designed to resist exactly this kind of attack. The heat treatment makes it tough, but an angle grinder’s high RPM (typically 10,000–13,000) combined with the right abrasive disc generates enough localized friction and heat to wear it down.
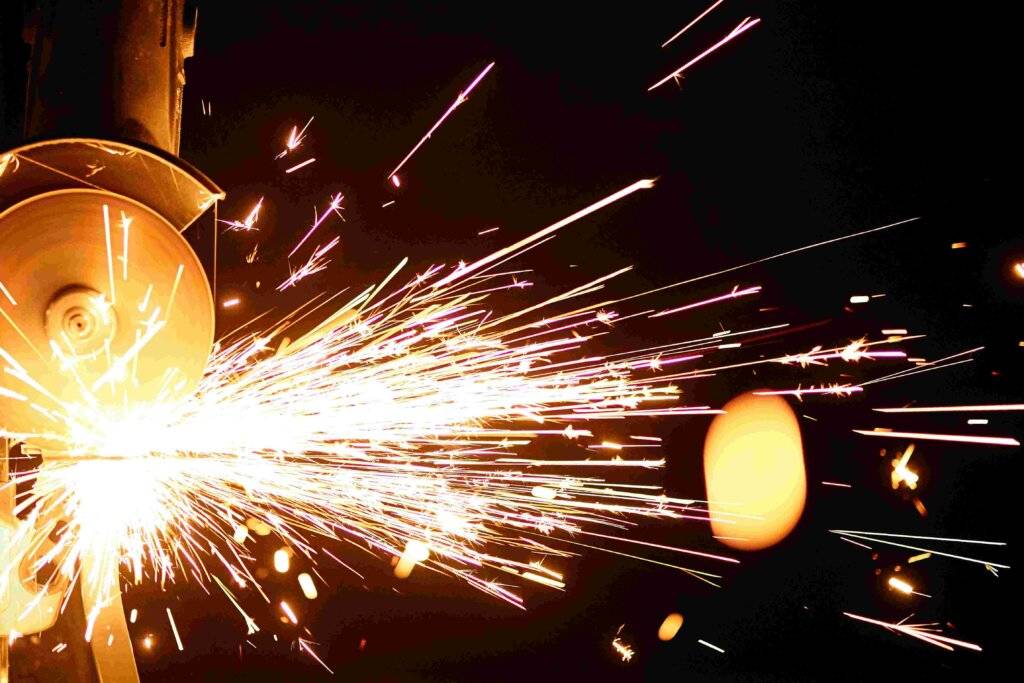
The physics is straightforward: the disc’s abrasive grains shear away metal molecules. Sparks fly because you’re literally burning tiny bits of steel. But heat is the enemy—it can work-harden the cut area further, bind the disc, or cause it to shatter. Thin discs cut faster with less heat buildup, but they’re more fragile. Thicker wheels are tougher but slower and generate more heat.
Pro tip from experience: A 4-1/2″ or 5″ corded grinder (around 7–11 amps) gives the best balance of power and control for most chains. Cordless works in a pinch with fresh batteries, but expect shorter runtimes on thick stuff.
Safety First: Non-Negotiable Gear and Setup
Angle grinders are unforgiving. A shattering disc or kickback can ruin your day (or worse). Don’t skip this.
- Eye and face protection: Full-face shield over ANSI Z87.1 safety glasses. Sparks and disc fragments fly everywhere.
- Hearing protection: Earplugs or muffs—it’s loud.
- Gloves: Leather or cut-resistant, but not bulky ones that reduce control.
- Clothing: Long sleeves, no synthetics (they melt), steel-toe boots. Tie back long hair.
- Respirator: For rusty or painted chain—metal dust isn’t great for your lungs.
- Fire safety: Have a fire extinguisher nearby. Sparks can travel and ignite debris.
- Workspace: Clear area, secure the chain (vice, clamps, or concrete blocks and your foot—carefully). Never hold it freehand if possible.
Golden rule: Two hands on the grinder at all times. Keep the guard on and positioned to deflect sparks away from you. Never stand in line with the disc— if it explodes, you don’t want to be the target.
Choosing the Right Disc: Ultra-Thin Slicing vs. Standard Grinding Wheel
This is where most people go wrong.
- 1mm (or 0.040–0.045″) ultra-thin slicing/cutoff discs: These are the go-to for chain. They cut faster, generate less heat, and leave a narrower kerf (less material removed). Brands like Diablo, Norton, Metabo, or quality generics work well for steel. They’re aggressive and perfect for quick penetration. Pros: Speed, lower heat, cleaner cuts.
Cons: Fragile—side pressure or pinching shatters them instantly. Buy a pack; you’ll go through a few on heavy chain. - Standard thicker grinding wheels (1/8″ or more): Better for heavy material removal or if you’re also grinding down burrs. They handle abuse better but cut slower, build more heat, and can bind easier in a chain link.
Recommendation: Start with thin metal-cutting cutoff discs (Type 1 or 27 depending on your guard). For super-hardened chain, some swear by diamond-edged wheels (like Lenox MetalMax) for durability and less shattering risk, though they’re slower and more expensive. Avoid cheap no-name discs—they shatter more easily.
Always match the disc’s RPM rating to your grinder (usually 13,000+ RPM max). Check for cracks before use—spin it by hand.
Preparation: Set Yourself Up for Success
- Inspect the chain: Clean off rust, dirt, or paint for better cutting.
- Secure it firmly. For a single link, clamp in a bench vise. For longer runs, lay it on concrete or a fire-safe surface and stand on the ends to tension it.
- Mark your cut—usually through the middle of a link or at the weld if visible.
- Have water or a damp rag ready for cooling (but never pour directly on a spinning disc).
- Multiple discs ready. A cut can take 30 seconds to several minutes depending on thickness.
The Cutting Process: Step-by-Step
Plug in (or charge up), let the grinder reach full speed before contact. Light pressure—let the disc do the work. Forcing it generates heat and risk.
Basic Technique:
- Position the grinder so sparks fly down and away.
- Cut at a slight angle if needed for access, but keep it as straight/perpendicular as possible.
- Move in short bursts: 5–10 seconds on, then off to let things cool. This prevents heat buildup that hardens the steel or binds the disc.
- Listen for changes in sound—it’ll tell you when it’s binding or the disc is wearing.
The “Two-Cut” Technique for Heavy-Duty Links (This is gold for thick chain):
Heavy links can pinch the disc as the cut closes up from heat/weight. Here’s how to beat it:
- Make the first cut about 75% through the link from one side. Go slow, cool as needed.
- Flip or rotate the chain (or grinder angle) and make a second cut from the opposite side, again ~75% through, leaving a thin web in the middle.
- The link should now snap or be easily finished with a light tap from a hammer or final pass. This avoids full-depth pinching and reduces shattering risk.
For very thick chain (e.g., 1/2″ or more), you might need to nibble around the link in sections. Patience beats brute force.
Heat Management:
- Short passes.
- Air cooling or occasional water quench on the chain (not the disc directly while spinning).
- If the steel turns blue or straw-colored from heat, you’re going too hard—back off.
Expect sparks—a lot of them. The cut area will be hot; don’t touch it.
Troubleshooting Common Issues
- Disc shatters: Side pressure, defective disc, or binding. Stop immediately, check guard and setup.
- Binding/pinching: Two-cut method or relieve pressure by cutting from multiple angles.
- Slow progress: Wrong disc, dull disc, or underpowered grinder. Switch to a fresh thin one.
- Excessive heat: More cooling breaks, lighter pressure.
- Rusty chain: It cuts okay but produces more dust—mask up.
After the Cut: Cleanup and Next Steps
File or grind down sharp burrs. The cut ends will be hardened and rough. Clean the area, dispose of spent discs safely (they’re brittle). If this was for a lockout situation, consider upgrading to something more angle-grinder-resistant next time (like boron steel or shielded designs).
Legal, Ethical, and Practical Notes
This skill is legitimate for lost keys, property maintenance, rescue, or farm work. But don’t use it for anything illegal—cutting someone else’s chain is theft or vandalism. Know your local laws, especially around security devices. And remember: better prevention (good locks, records of combinations) beats emergency cutting.
Final Thoughts
Mastering the angle grinder on hardened chain feels empowering. It’s noisy, spark-filled work, but with the right thin disc, two-cut technique, and obsessive safety, you’ll handle it confidently. Start small on scrap if you’re new. Over time, you’ll develop that feel for the tool—the slight pressure, the sound of progress, the rhythm of cooling breaks.
Your garage (or jobsite) will smell like hot metal, and you’ll have one more practical skill under your belt. Stay safe out there, wear the gear, and respect the tool. If you’ve got a specific chain size or scenario, drop details in the comments—happy to share more tailored tips. Now go free that stuck gate or recover your gear.